Keda recommends during the installation of tiles, one should follow a precise and neat tile installation to extend its durability and longevity.
Step 1 : Set up the surface
Make sure the surface onto the tile is being installed is neat, clean and dry. It must not possess any dirt, grease or uneven surface before tile installation.
Step 2 : Design the layout
Create a blueprint of the layout of the area or space where the tiles are being installed. It is advisable to draw the guidelines for the layout before proceeding to the installation of tiles.
Step 3 : Trim and cut the tile
Carefully measure the tile size as per the guidelines created for the layouts and with the help of tile cutter, cut the tile and finally smooth out the rough edges with the help of a carborundum stone for a soft finish.
Step 4 : Spread on the adhesive
Create the mixture of the adhesives as per the nature of the tiles and coat the adhesives evenly as per the guidelines of the layout created.
Step 5 : Apply and fix the tiles
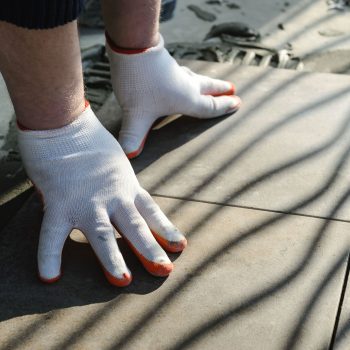
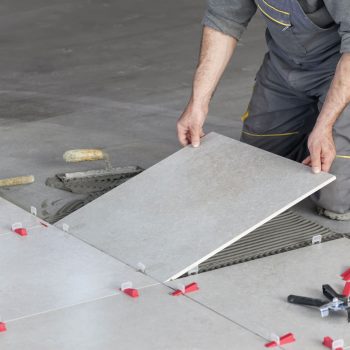
Once the surface is cleaned and well prepared, the layout has created the tiles are chopped and smoothened as per the guidelines for the layouts, application of adhesive is done neatly and evenly, space or the area is now fully prepared for the actual tile installation. Apply the tiles as per the guidelines, remove extra adhesives from joints and the tiles by wiping out the extra adhesive using a damp sponge or cloth to make an even surface.
Step 6 : Rest and leave the area
After applying the tiles and removing the extra adhesive from the joints and the tiles, it is required to wait for at least 24 hours before using the space. 24 hours’ time is required to set the tiles into the places.
Step 7 : Fill the joints
After 24 hours the tiles are set and fixed on the surface, the final step is to fill the joints and provide the finishing to the installation process. Fill the joints or the grouts with the mixture provided or required. Once the grouts are filled, leave the surface for at least 15 to 20 minutes to allow the grouts to set. Finally, use a damp sponge or cloth to remove the excess joint mixture or any impurity and leave the newly formed grouted surface up to 72 hours before using the space heavily.
INDUSTRY VERTICALS
150+
PROJECTS COMPLETE
1564+
HAPPYY CLIENTS
1200+
PRODUCT DESIGNS
40+
EXPORT COUNTRY
MEMBERSHIP & AFFILIATION
Do you have any Question?
Ready to Help you with Whatever you Need.


